The development experience between Atmel START and Studio 7 has been optimized. This section demonstrates the iterative development process of START-based projects in Studio 7, through the re-configure and merge functionality.
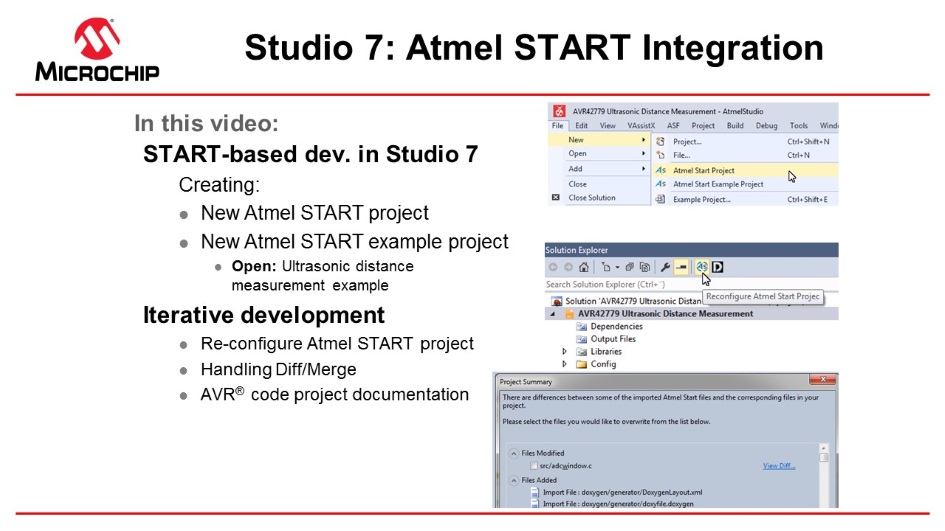
Video: Atmel START Integration
Todo: Exporting the
Project from Atmel START.
- 1.On the Atmel START website, create a new project (Example or Board).
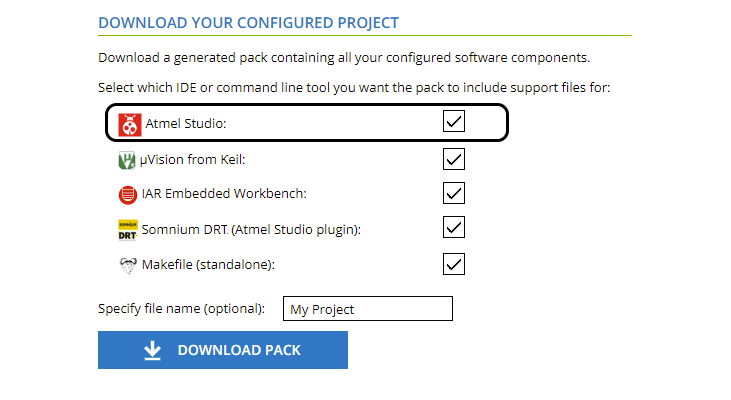
- 2.Click on the Export Software Component button. Make sure the Atmel Studio check-box is checked.
- 3.Click on Download pack. An atmelstart.atzip pack file will be downloaded.Figure 1. Download Your Configured Project
 Todo: Import the Atmel START Output into Atmel Studio.
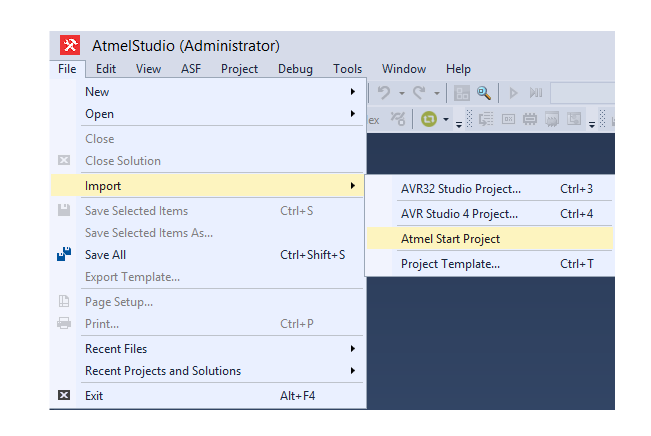
 - 4.Launch Atmel Studio.
- 5.Select File > Import > Atmel START
Project.Figure 2. Import Atmel START Project
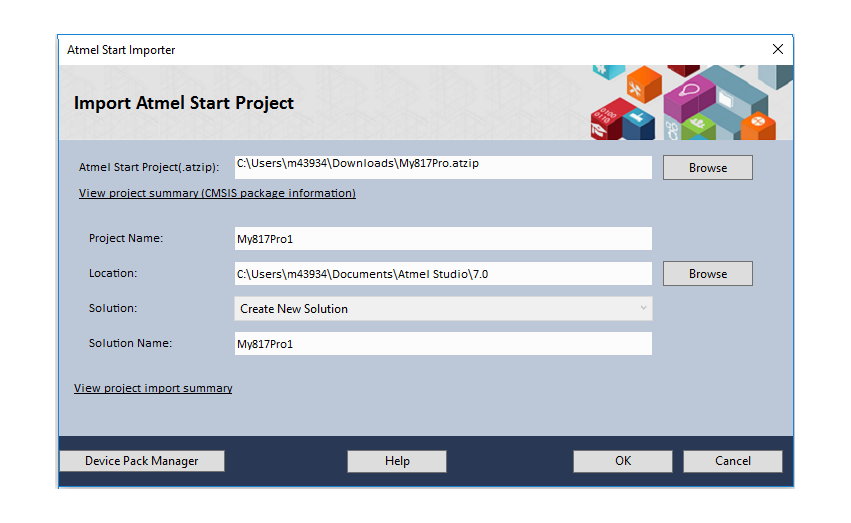
- 6.Browse and select the downloaded atmelstart.atzip file.
- 7.The Atmel START Importer dialog box will
open. Enter the project details as Project name, Location, and Solution name. Click OK.Figure 3. START Project Importer
- 8.A new Atmel Studio project will be created
and the files will be imported.
 Todo: Import the Atmel START Output into Atmel Studio.
 - 9.Some projects contain documentation
formatted for Doxygen.Note: Doxygen must be downloaded from http://www.doxygen.org and installed. You will be asked to configure Studio to locate Doxygen executable, this defaults to C:\Program Files\doxygen\bin \doxygen.exe.
- 10.Click on the Doxygen button to generate the
documentation. Doxygen will run and the generated documentation will open in a new
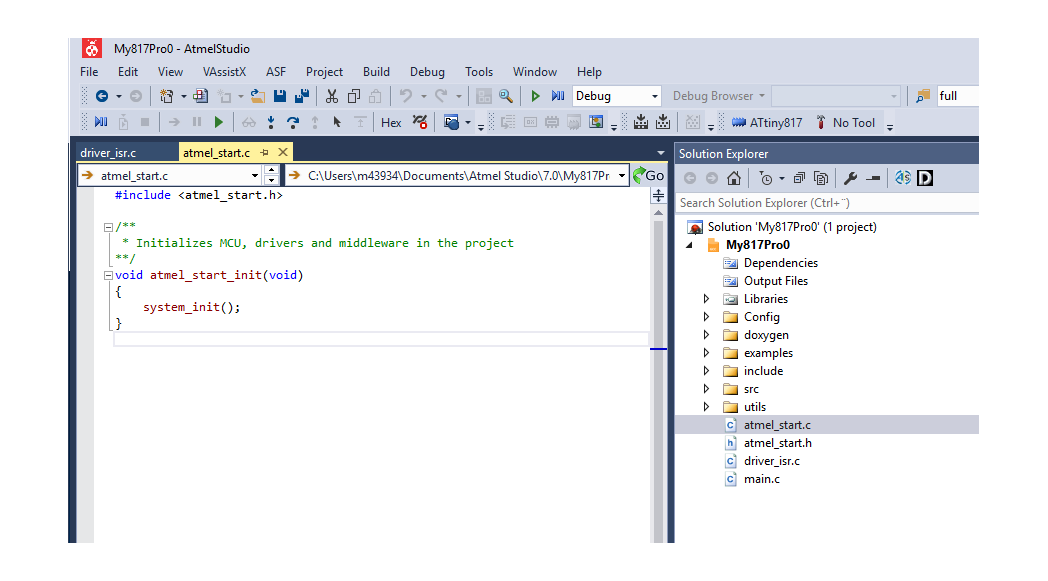
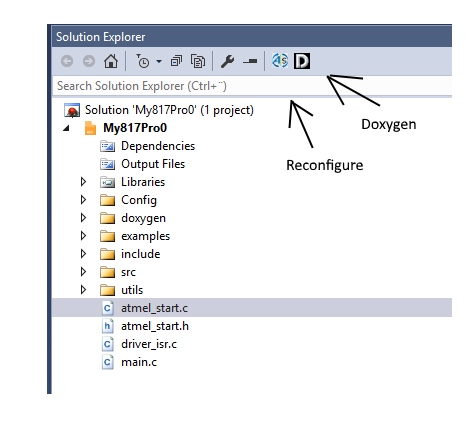
window.Todo: Reconfigure the project using Atmel START.
- 11.Click on the Reconfigure button or right-click on the project node in the Solution Explorer, and, from the menu, select Reconfigure Atmel START Project.
- 12.Atmel START will open in a window inside
Atmel Studio.Figure 4. Reconfigure START Project and Doxygen Buttons
- 13.Do the necessary changes to the project. Click the GENERATE PROJECT button at the bottom of the Atmel START window.