|
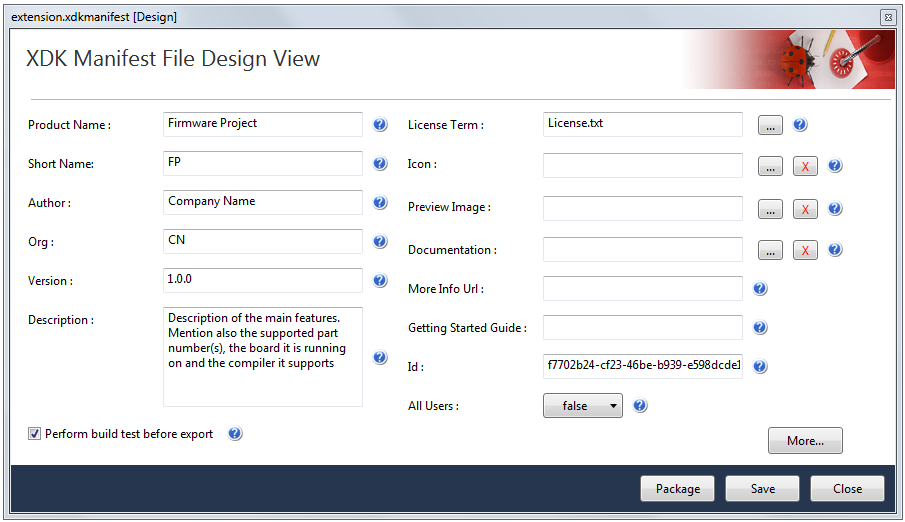
Getting Started Guide
|
An HTTP\HTTPS URL to a getting started guide for your extension(s). If
specified, a Getting Started link will be provided in the Extension Manager under
the detailed view of the extension which will navigate to this
website.
|
|
More Info URL
|
An HTTP\HTTPS URL to a website containing more info for your VSIX. If
specified, a More Information link will be provided in the Extension Manager under
the detailed view of the extension which will navigate to this
website.
|
|
Icon
|
This specifies which image will be displayed beside the product name for
the VSIX in the Extension Manager's list of extensions.
|
|
Preview Image
|
This specifies which image will be displayed in the details for the VSIX
in the Extension Manager's list of extensions.
|
|
License Terms
|
Specifies the licensing terms for the extension. This will be shown when
a user attempts to install the extensions.
|
|
All Users
|
Specify whether to install the extension for All Users or the current
user
|
|
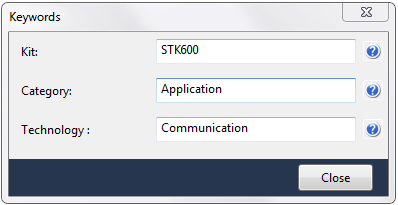
Kit
|
Specify the kit in which the example project can run. This is used to
classify and list the project under the specified kit in the new example project
dialog. You can specify multiple kits separated by commas.
|
|
Category
|
Specify the category in which the example project belongs. The project
will be classified and listed under the specified category in the new example
project dialog. You can specify multiple categories like driver, Application
etc, separated by commas.
|
|
Technology
|
Specify the technology for the example project. The project will be
classified and listed under the specified technology in the new example project
dialog. You can specify multiple technologies separated by commas.
|